You may have already heard of Waterlouge from all over the great blogesphere or seen watercolored photos of your friends pop up in your Instagram feeds. For those of you who haven't, I am super stoked to show you how to get instant, custom, watercolored versions of your photos with no paint or brushes needed.
There is absolutely no substitution for a real watercolor or for the personal energy or "touch" that goes into a custom piece of art, but this new app comes pretty dang close. It is for those of us who want custom pieces of art from a picture we took, but aren't on the budget to hire someone. Fortunately, there is an incredible app called Waterlouge that you can purchase for your phone for $2.99 that allows you to create completely custom "watercolored" versions of your photos. I have literally spent the past 6 hours converting pictures from our travels to watercolor and I can't get enough of this crazy app. I have included before and afters of many of the paintings, but not all of them since there would simply be way to many pictures for this one post. The amount of "watercolors" I "painted" is absolutely ridiculous... brace yourselves...


Before:

After:

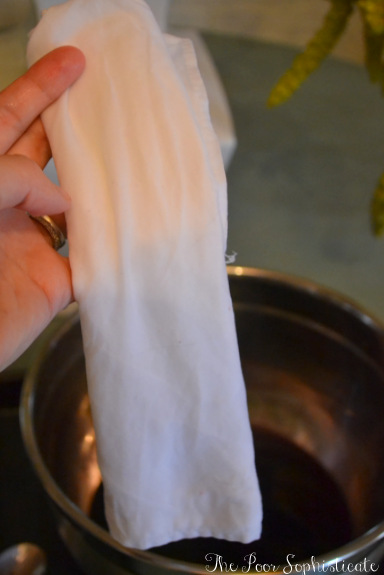
And here are some other textiles... I love how the watercolored version came out!


Before:

After:


After:

Before:

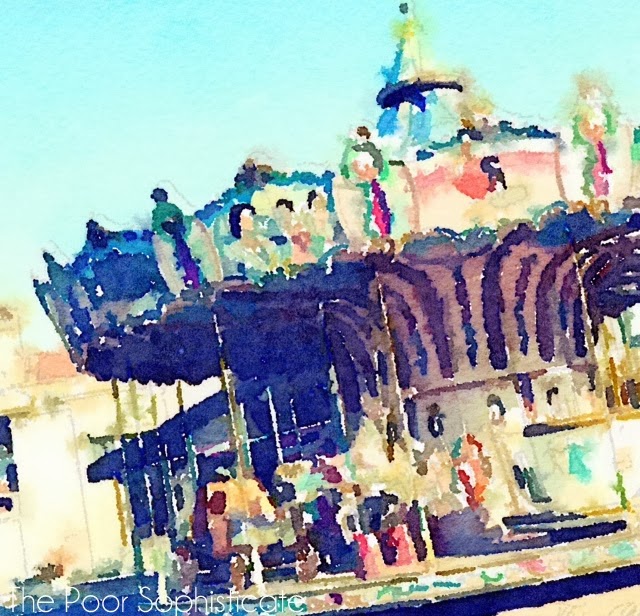
After:

Before:

After:


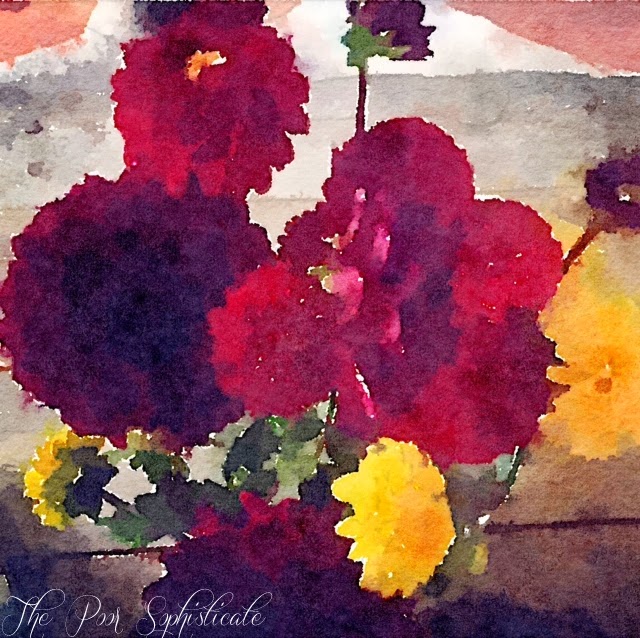
Here are some gorgeous flowers I spotted at the market and snapped a few pictures of...
Before:

After: (now, stunning art!)

Before:

After:


What do you think?? Have you started downloading it yet? I would love to see what incredible, custom pieces of art you come up with! Tchüss!